I have created today something for you to give your clients, as hairdressers we know how to use our straightening iron for curls, yet it can be a challenge for our clients.
How many times do you hear “how do I do my hair at home?”
Well, here’s a step-by-step guide to using your Glide Hot Rod Straightening Iron to create long-lasting curls on your hair.
This method works best for medium to long hair and is designed to give you defined curls that stay put all day. Share with this your clients so they can create different looks, they will love you for it!
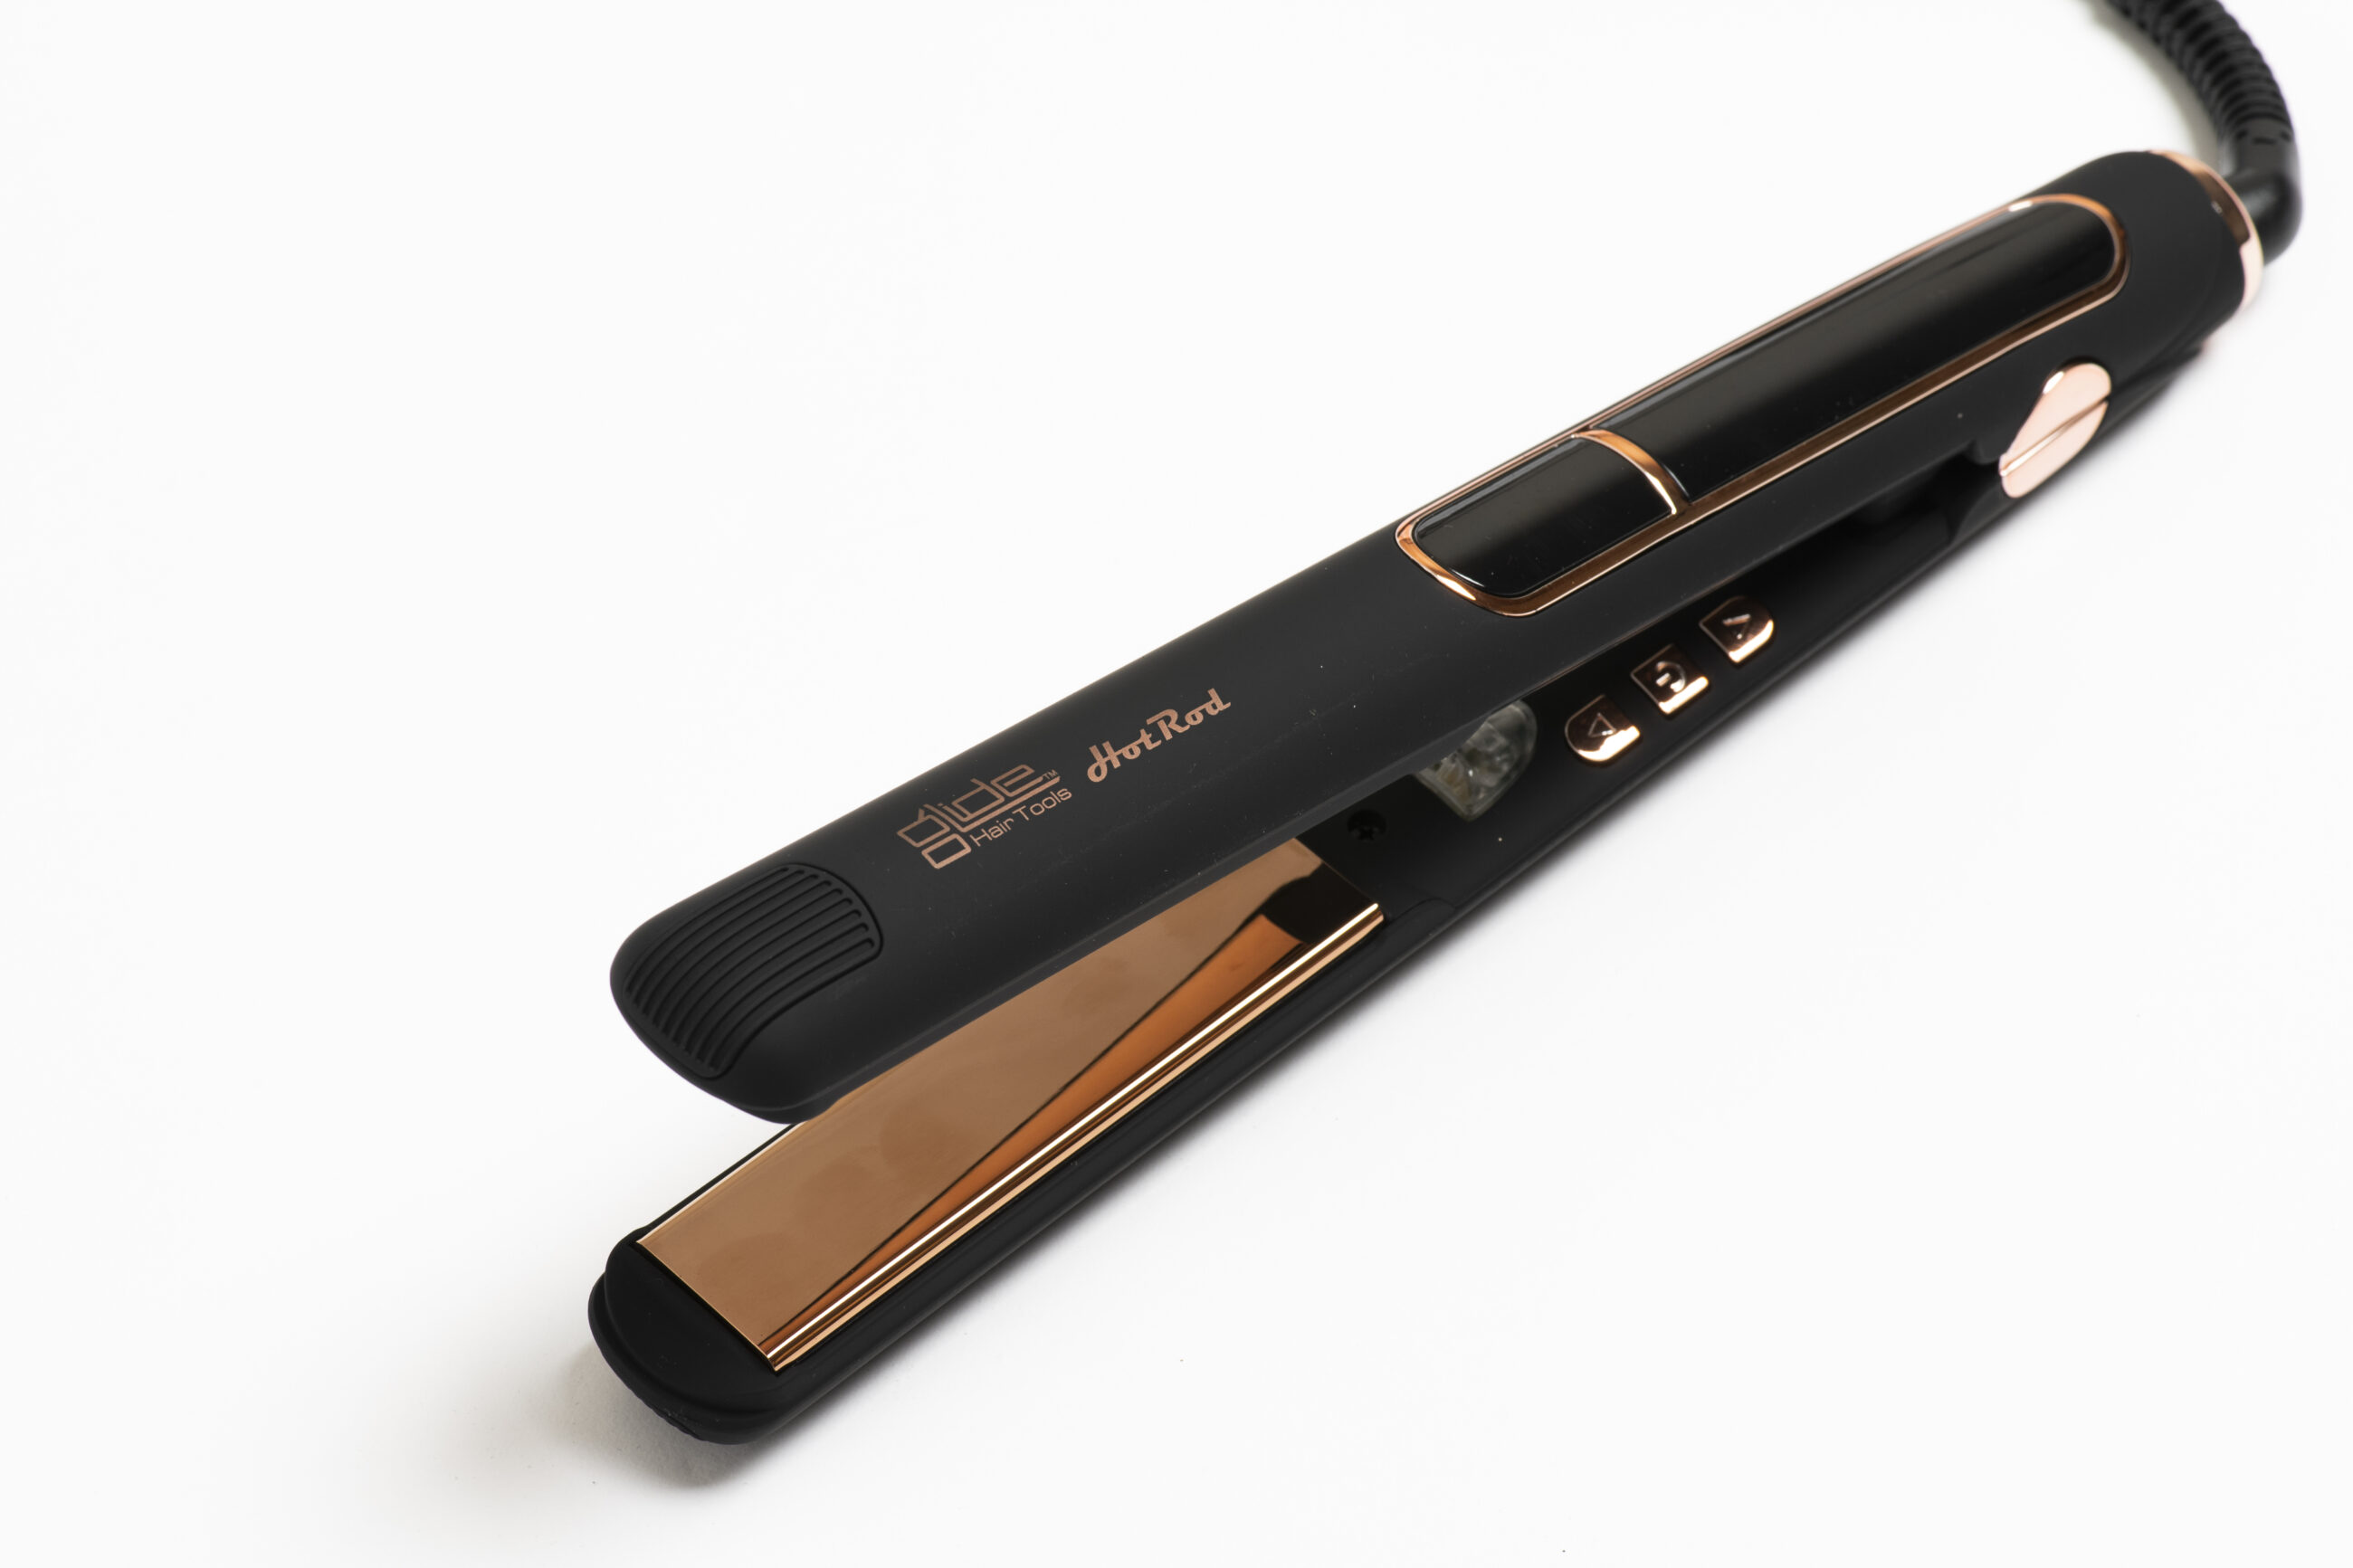
How to Use the Glide Hot Rod Straightening Iron for Long-Lasting Curls
What You’ll Need:
- Glide Hot Rod straightening iron
- Heat protectant spray
- Sectioning clips
- Fine-tooth comb
- Light hold hairspray or curl-setting spray
- Paddle brush or wide-tooth comb (optional)
Step-by-Step:
Step 1: Prep Your Hair
- Start with clean, dry hair. Curls last longer on hair that isn’t freshly washed, so day 2 hair is ideal.
- Apply a heat protectant spray evenly from root to ends. This protects your hair and helps curls hold.
- Brush through your hair to remove any tangles.
Step 2: Section for Control
- Divide your hair into 3 horizontal sections: bottom, middle, and top.
- Clip the top two sections up and start with the bottom layer.
- For thicker hair, you may need to divide each horizontal section into smaller parts.
Step 3: Set Your Glide Hot Rod Iron
- Plug in your Glide Hot Rod straightener and allow it to heat up fully (usually 180–200°C is ideal for curls, depending on your hair type).
- Use a lower temp for fine or damaged hair and higher for thick or coarse hair.
Step 4: Curling Technique
- Take a 1-inch section of hair.
- Clamp the Glide Hot Rod near the root, keeping the iron vertical.
- Twist the iron away from your face, rotating it 360 degrees as you slowly glide down the hair shaft.
- Important: Keep a slow, steady movement for a defined curl. The slower you move, the tighter the curl.
- Let the curl fall into your hand and hold it for 5 seconds to cool. Then release.
Step 5: Repeat Around Your Head
- Work your way through the bottom, then the middle, then the top section.
- Always curl away from your face on the front sections for a flattering look.
- For a more natural effect, alternate the direction of curls on the sides and back.
Step 6: Set the Curls
- Once your whole head is curled, allow the curls to cool completely.
- Lightly mist with a light hold hairspray or texture spray to lock in shape.
- For more volume and softer waves, gently finger-comb or brush out the curls.
Step 7: Make It Last
- Avoid touching your curls too much throughout the day.
- To preserve curls overnight, loosely twist them into a pineapple bun or use a silk scarf to reduce friction.
Tips for Longer Hold:
- Use a curl-setting spray on each section before curling.
- Make sure hair is 100% dry before using the iron.
- Let curls cool fully before styling or brushing out.
- Choose the right heat level for your hair type—too low won’t curl, too high can fry.